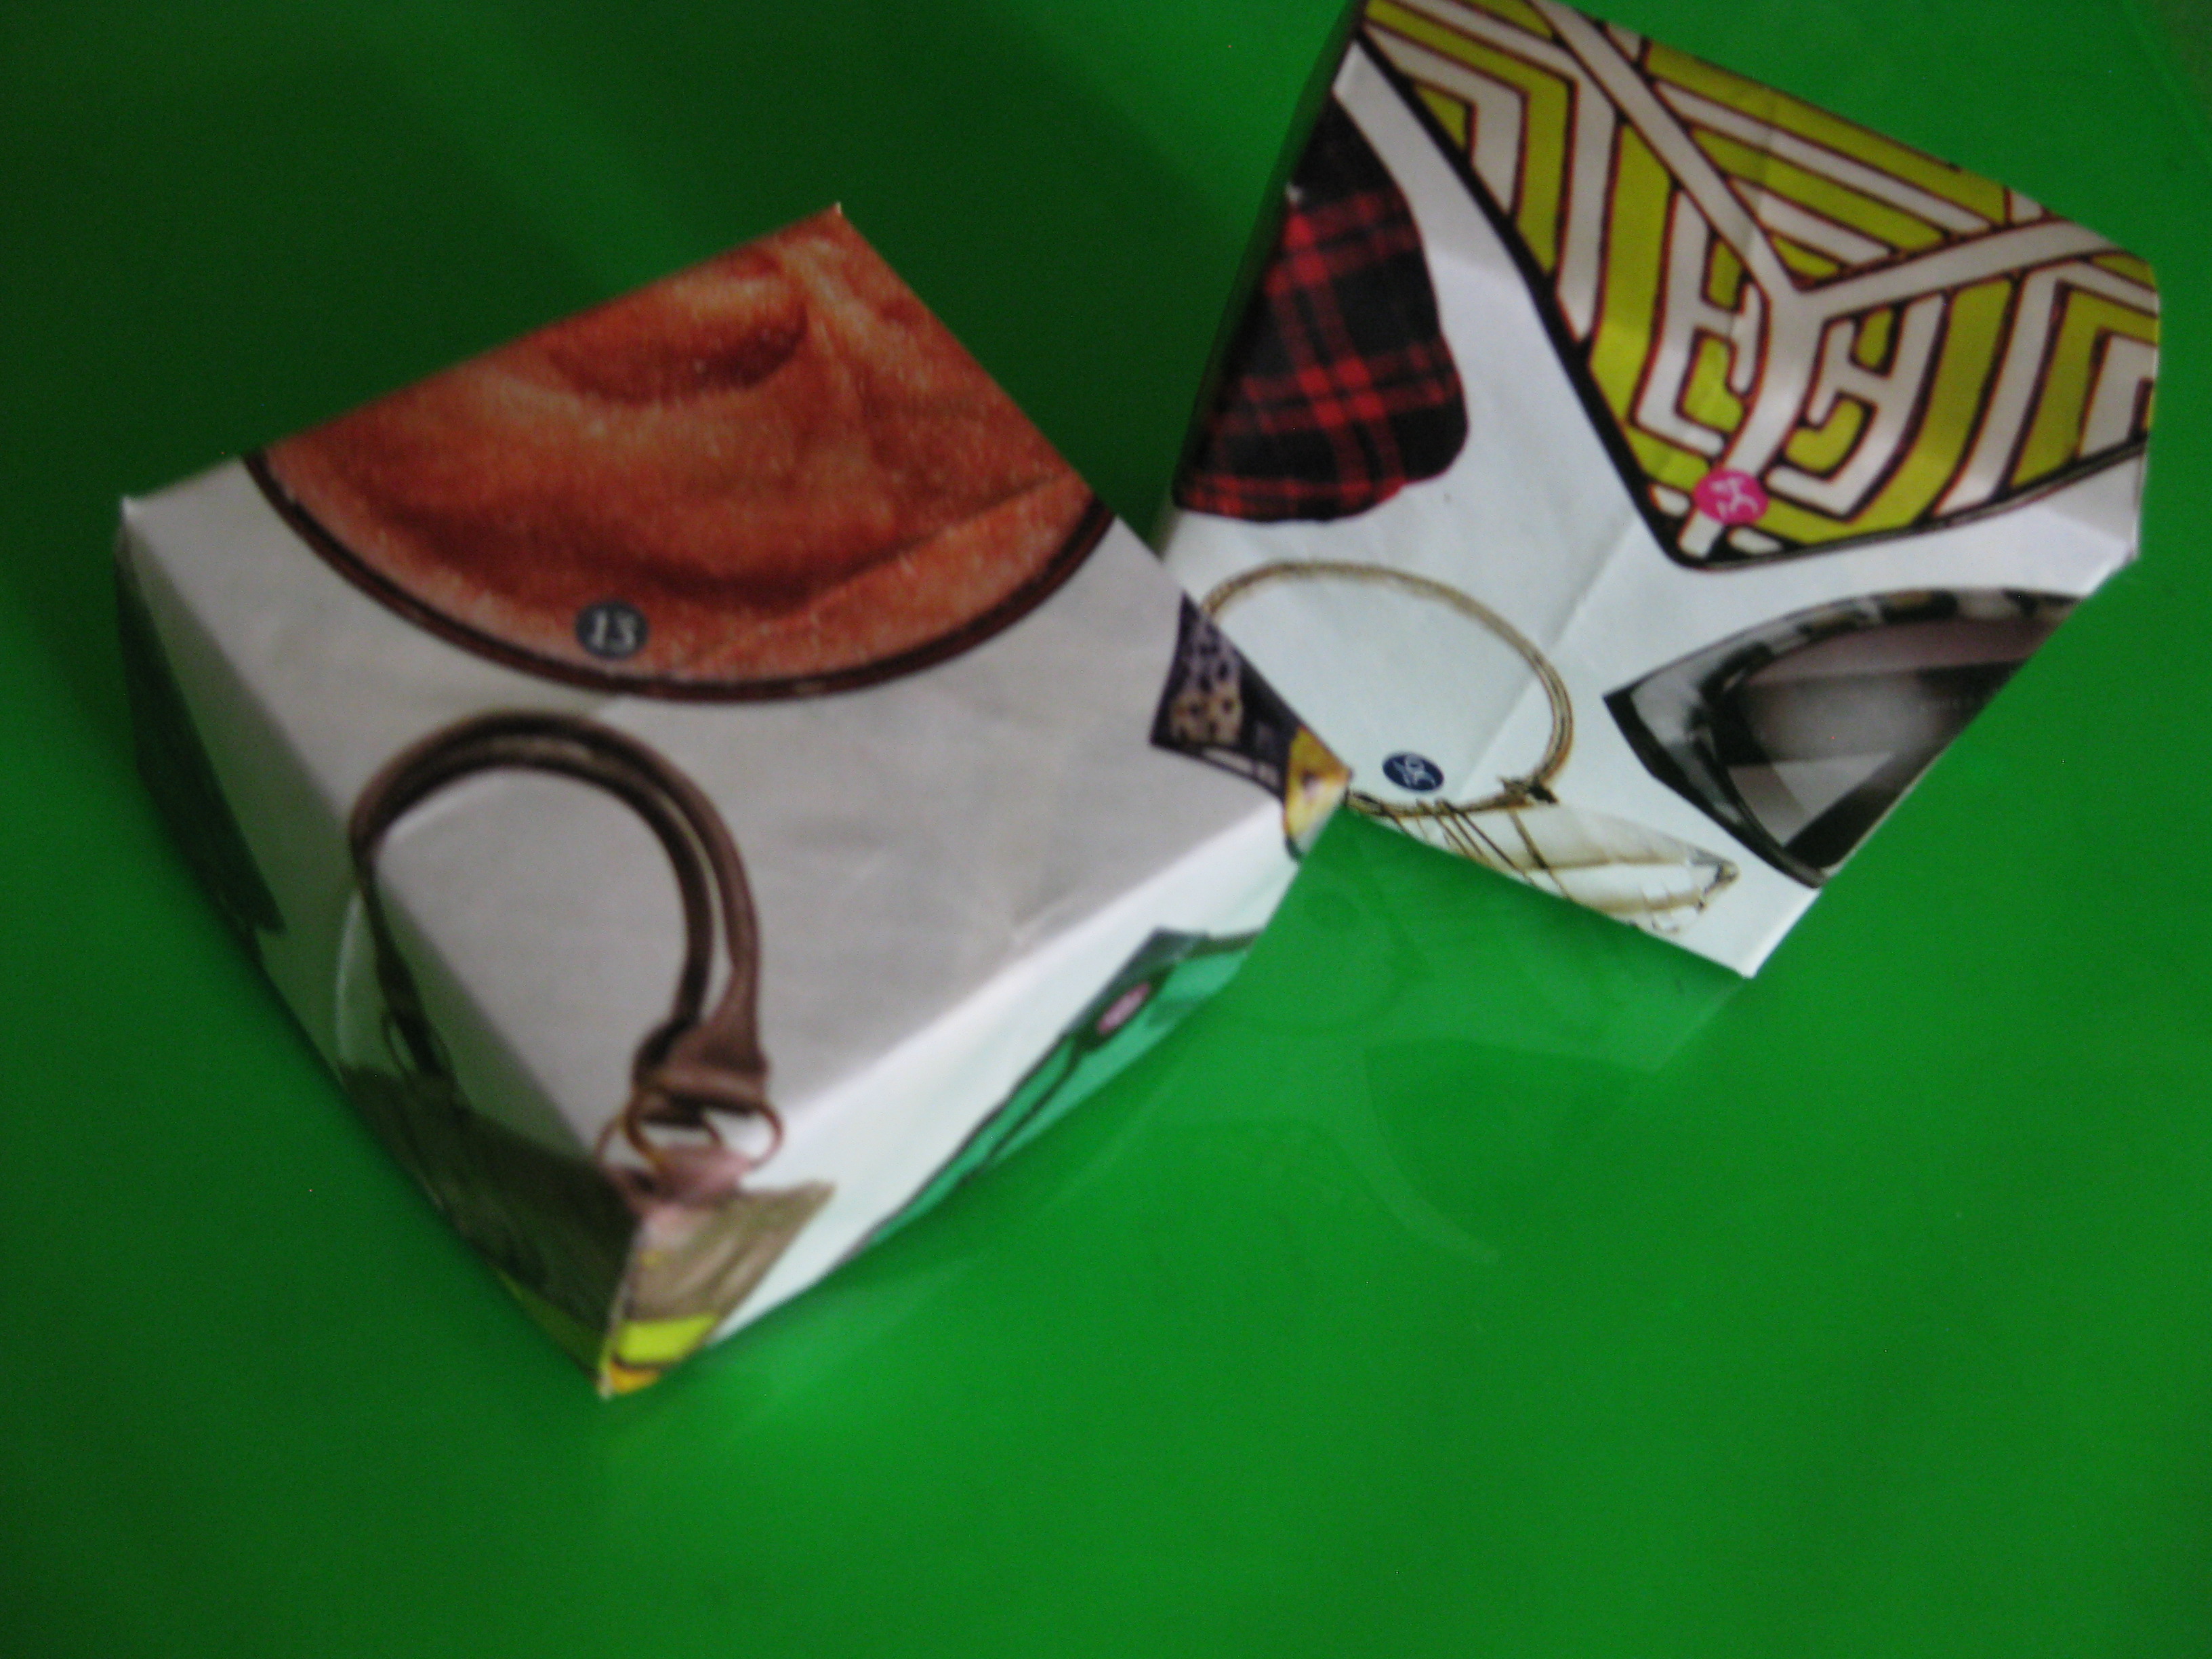
We all know that giftwrap can be expensive. I don’t want to spend as much (or more) on the paper, bag, and bow as I did on what’s inside. In the past I have been known to make the wrapping as much a part of the gift as what’s inside by using a purse, basket or tote bag. I also like to “be green,” so to speak and recycle old newspaper and magazines as wrapping paper. This is a tutorial on making gift boxes from magazine pages.
What you’ll need:
- Scissors
- Paper
- Ruler
- Glue-stick (optional)
- Find some paper with a pretty design. The paper must be a perfect square, cut off extra length to make it a square. I used a magazine page (doubled up with a second page glued to the back for sturdiness). Pay attention to what is at the center of the square when cutting, this will be the top of the box.
- Place the pretty side face down. Fold the square on the diagonal in half, both ways.
- With the pretty side down fold each corner into the center to make a small square.
- Unfold two opposite corners. Taking the edges that are still folded down, fold again lining the edge up with the tip of the corner. Do this for the opposite side. Then fold down the other two corners and repeat.
- Unfold all folds. Find the creases of the small square at the very center of your paper. Lightly draw the outline on the not pretty side of your paper to make sure you don’t over cut in the next step.
- Cut in from the edge of the paper along the creases as shown in image 6 above. Don’t over cut.
- Fold along all crease on the sides with tabs (triangles) as shown.
- Fold the final two edges over the tabs and press down to “stick.”
- True origami doesn’t need glue but since this is a gift I didn’t want the sides to pop up so I glue down the corners. You can also cut out a small square of pretty paper that fits in the box and glue that over the corners. You can see that I did that in the image below.
If you want to make a box with a lid the lid paper needs to be slightly larger than the bottom. My box is about 2 1/4” when completed. The bottom was 6” and the top was 6 1/4”. If you want a bigger box (about 4 1/4") use 12” for the top and 11 1/2” for the bottom; for a smaller box (about 1 3/4") use 5” for the top and 4 13/16” for the bottom.
If you forget how to do proportions here is a link to a calculator.
Plug in 2.25 (the size of my completed box) on the top of the fraction to the left and 6 (the size of the bottom paper) on the bottom of the fraction on the left.
Plug in the size you want your box to be on the top of the fraction on the left. The equation will return the size you should cut your bottom piece.
Then plug in 6 and 6.25 on the fraction on the left and whatever number you got back from the previous step. Now the equation will tell you how big to cut the top piece.
Or you could just guess... testing on scratch paper never hurt anyone.


No comments:
Post a Comment